Monday, October 25, 2010

Christening Cupcakes!

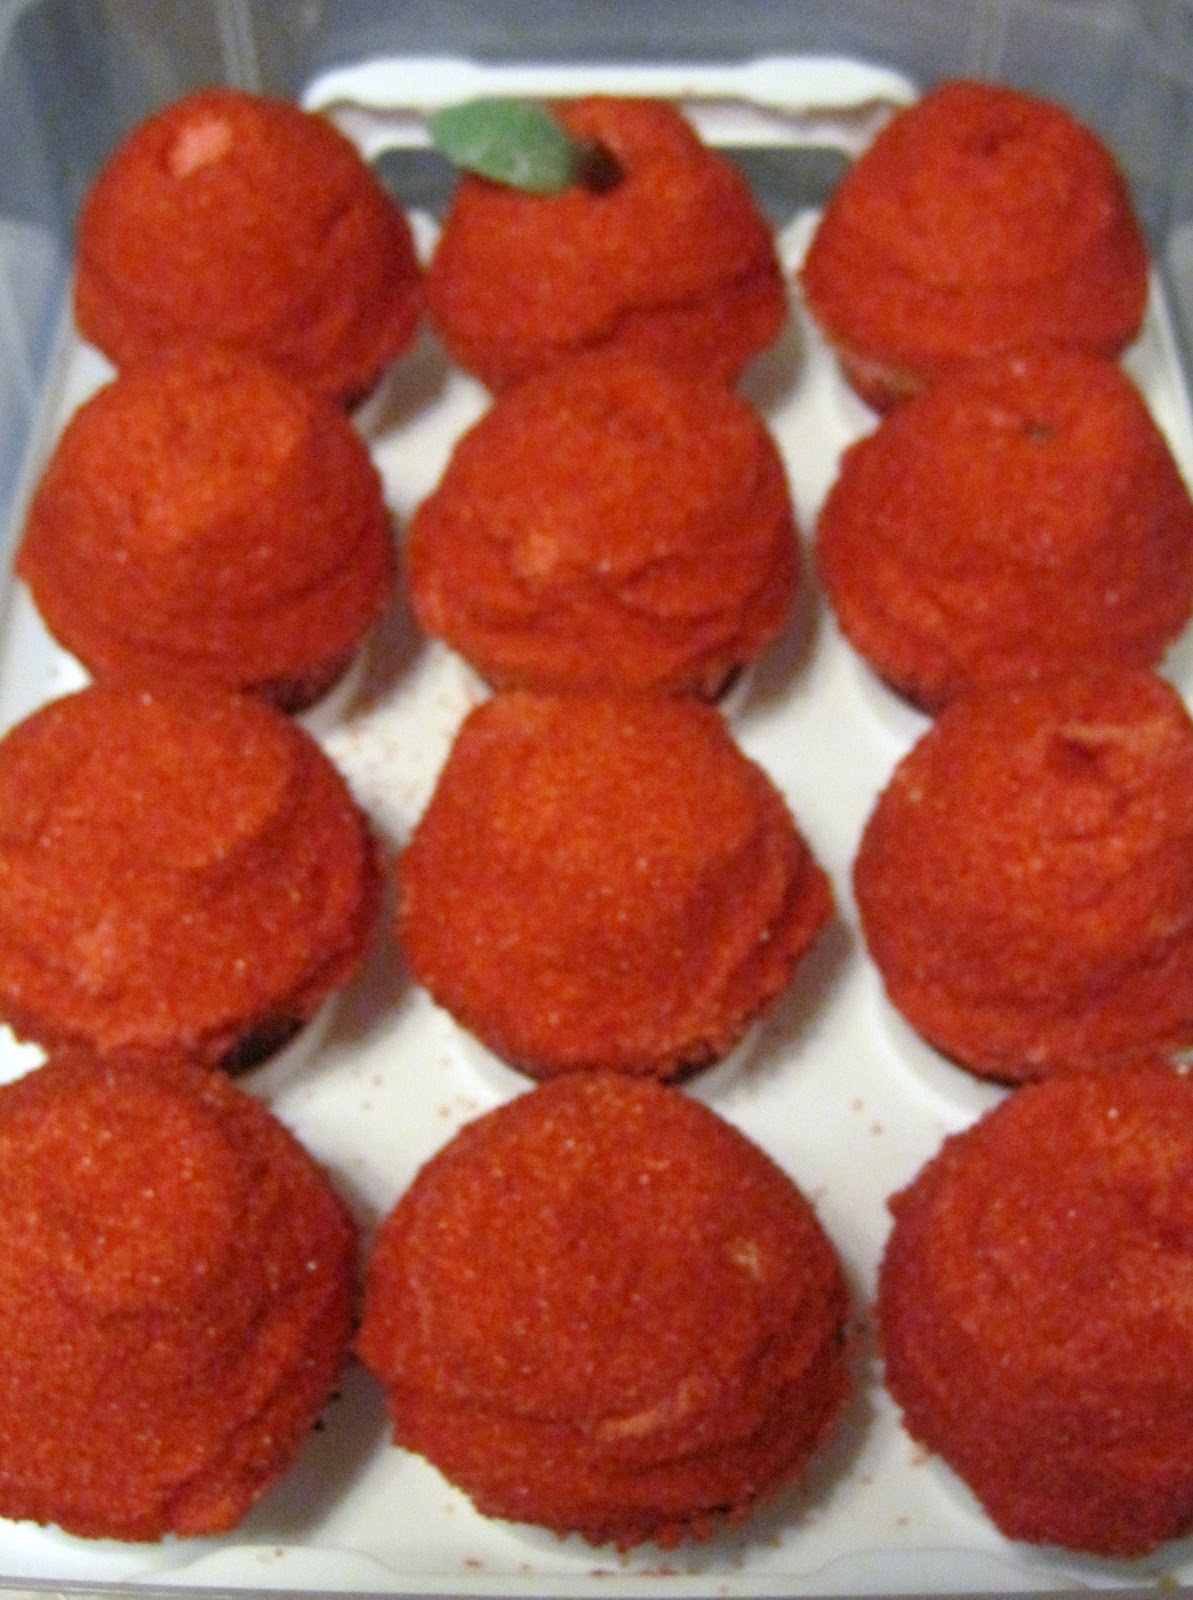
This is the largest order that Frost It! has received so far and it required a lot of team work to complete. We were asked, by a family friend, to make favors for a Christening. After figuring out how many favors were needed, we were able to come up with a couple of flavor and color combinations as well as some possible packaging ideas.
The order was for ten dozen cupcakes which needed to be packaged individually; half of the cupcakes were going to be chocolate and the other half, lemon.

The lemon cupcakes: We used Bakerella’s recipe, one of our favorite and most used recipes, for the base of this cupcake. To get a true lemon flavor, we zested and squeezed one whole lemon and added it to the batter.

The chocolate cupcakes: We used Martha Stewart's recipe for the chocolate cupcakes. We like this recipe for two reasons: it stays extremely moist and the chocolate flavor is not too intense, so everyone will enjoy it! It was great to do two flavors and offer our friend's guests the choice to pick which one they liked best.

(this is what 10 dozen cupcakes looks like!)

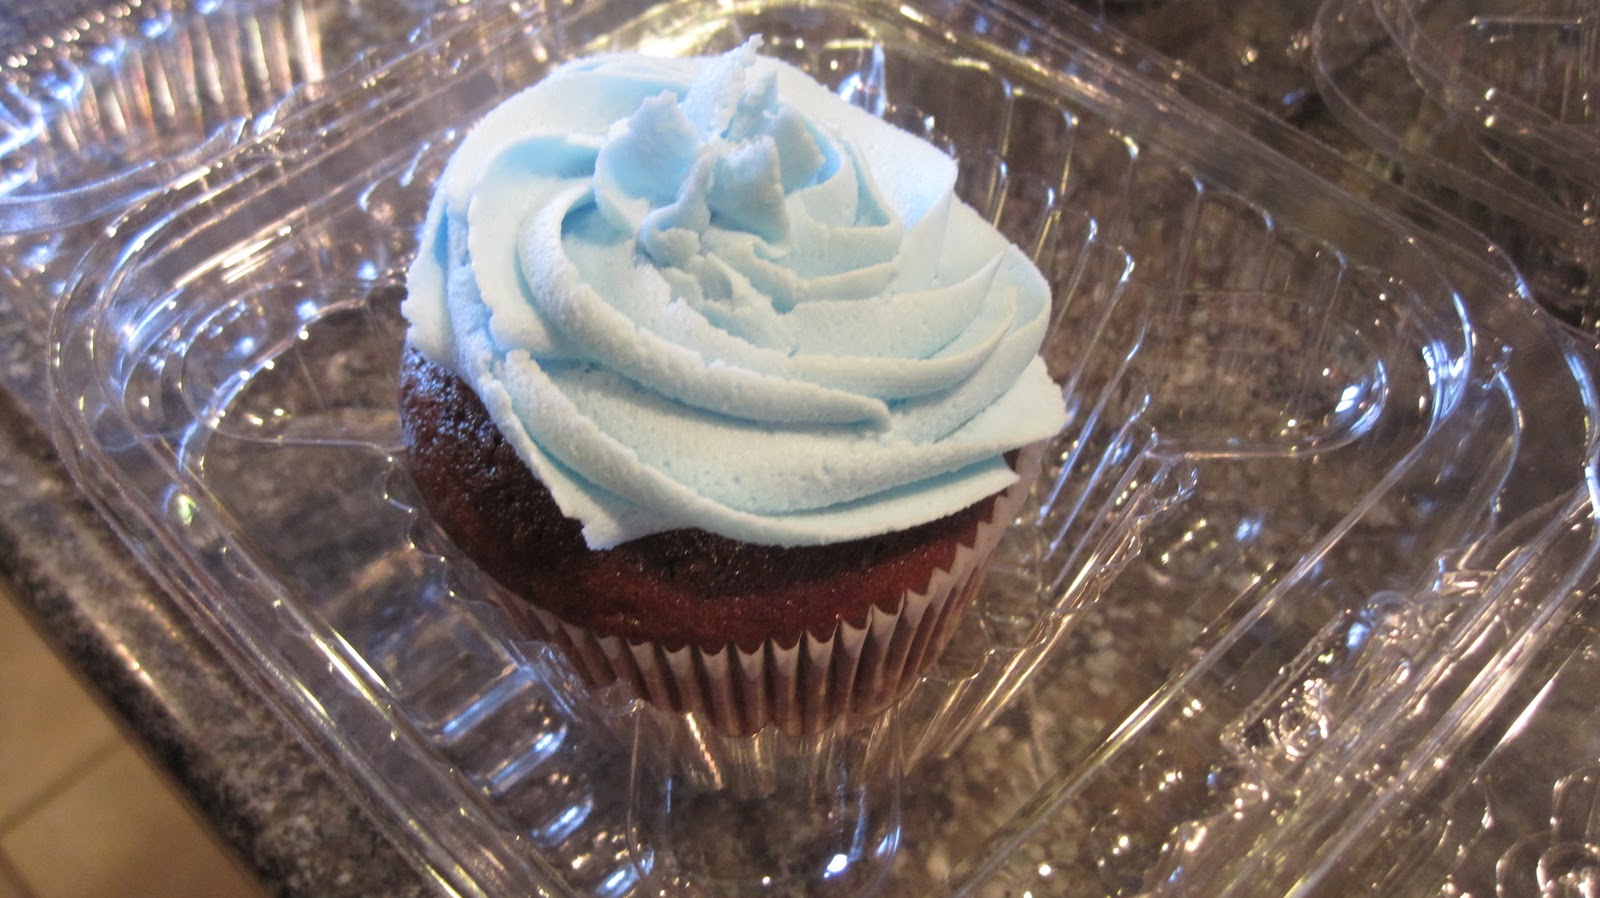
The frosting colors that were chosen for this order were baby blue and pastel yellow. We used a traditional buttercream recipe and tinted half of it baby blue. With the other half of the frosting, we tinted it pastel yellow and added the zest and juice from one whole lemon.

After cooling the cupcakes, it was time to get started on decorating. With our pasty bags filled with delicious buttercream in hand, we got to work! We used a 1M tip to create the fun, but simple, swirl of frosting on the cupcake. We decorated the cupcakes while they were in the clear plastic single cupcake containers, which proved to be very efficient.

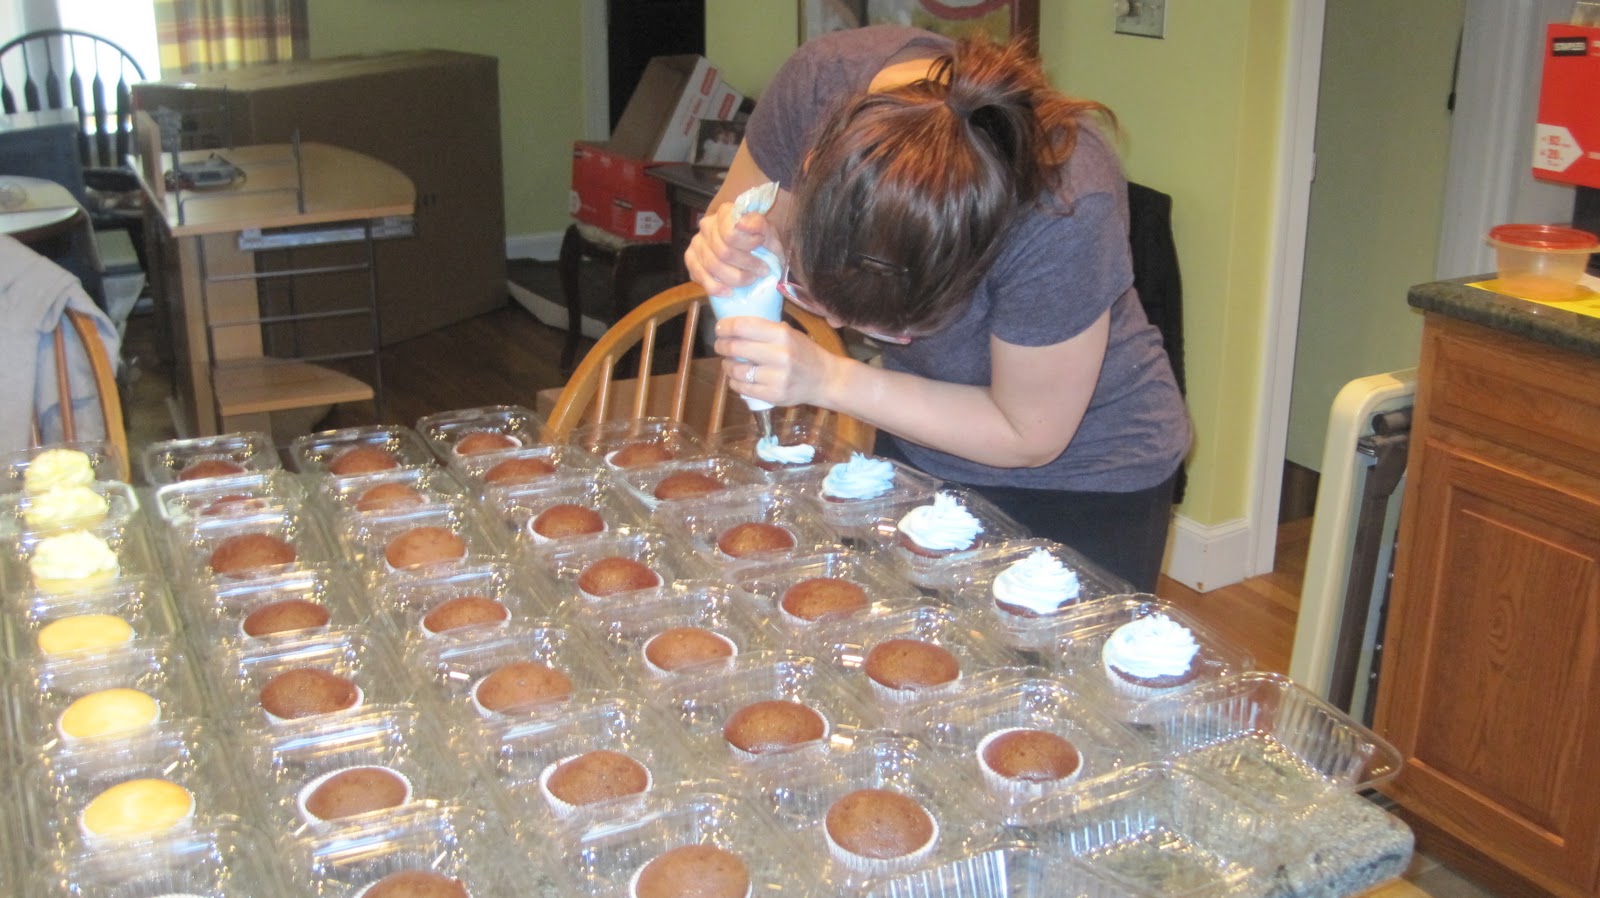
120 swirls of frosting later, we were done; it was now time to get them packaged and ready to go.

We wrapped the container in baby blue ribbon and placed a sticker on top. We used two different stickers; a cross and a monogram sticker to finish the look of the favors!

Boxed up and ready for delivery!


This cupcake order was challenging but also very fun for us. We knew that we could only accomplish this task by working as a team and we succeeded!

Monday, October 18, 2010

Homemade Dog Biscuits!

By: Christine
On the day of my dog Dutchess’ birthday, I stopped into Petco to pick up a few presents for her. While I was at the register, I told the saleswoman that it was my dog’s birthday and, since I love to bake for people, I should have baked my dog a cake! The saleswoman handed me a binder that contained pictures of dog cakes that could be ordered in the store and shipped wherever I wanted it. They also had gourmet cookies available in a number of shapes; cupcakes, fire hydrants, bones etc. This got me thinking…

Although I hadn’t baked a cake, I did construct a cake out of a doggie ice cream and a few dog biscuits, which Dutchess enjoyed.


I knew that for next year, I wanted to bake Dutchess a birthday cake but since I didn’t want to wait that long to try something canine friendly, I decided to experiment with making dog biscuits.

I searched online for a dog biscuit recipe and found a lot of different options. I decided on a recipe that contained simple ingredients that I knew my dog would love. I changed the original recipe which called for cheese and milk and I replaced it with crunchy peanut butter. 

After mixing all of the ingredients together, I rolled out the dough. I used a small “love” cookie cutter to create the shape of the biscuit.

I baked the cookies for 20 minutes, allowed them to cool, and then decorated some of the cookies in with white candy melts (as most people know, milk and dark chocolate is very harmful for dogs, the colored candy melts that are just white chocolate are safe in small quantities-click for more info.)

These homemade dog biscuits make great gifts too!

Dutchess would not leave my side the entire time I was in the kitchen baking and decorating these cookies. After allowing the biscuits to cool, I gave one to Dutchess which she devoured in seconds!

(Action Shot!!)

Monday, October 11, 2010

Apple Picking Day!

Apple picking to us means fun, family and food!

Jill: Apple picking has been a long-standing family tradition. I honestly don't know how long it's been going on, but I've gone almost every year since I was born! We often joke that family apple picking is the "biggest holiday of the year".

Christine: I have attended five of the annual apple picking days and each year I try and bring something fun and exciting to go along with the theme of the day!

We all have so much fun picking the apples, but the real fun comes later when it’s time to make the pies! As we all gather back into the house after selecting the most perfect apples in the orchard, we get right to work!

We work together to peel the apples, prepare the pans with pie crust, toss the apples in flour, cinnamon and sugar, and then baking the pies! We let the pies bake while we enjoy a wonderful feast!


Then it’s time for dessert, where we not only have fresh apple pies, but also some yummy treats that we have made for everyone!
Jill:
I decided to make S'Mores cupcakes for apple picking this year. I used Martha's Stewart's recipe and, although it was a more challenging recipe, I was up for it.

The cupcakes were made using Graham flour, honey, and brown sugar as well as other ingredients. I had never worked with Graham flour before and was curious to see how it would affect the texture of my cupcakes.


The Graham flour cupcakes were very unique and definitely made the cupcakes taste like graham cracker. The cupcakes were then topped with bittersweet chocolate ganache to simulate the chocolate portion of a s'more.


Another reason I loved this recipe was because I got to make my own marshmallow to pipe onto the cupcakes! I had never made marshmallow before and it was really interesting to see how it was done.


After the cupcakes were piped with marshmallow, I used my kitchen torch to lightly toast the marshmallow and tie together the whole s'mores cupcake.


Christine:
I love to make cupcakes and I especially enjoy making cupcakes that go along with a theme of a party. I was flipping through two of my new favorite cupcake books: “Hello Cupcake” and “What’s New Cupcake” and saw two ideas that fit perfectly into the theme of this party: apples and pumpkins.

Apple Cupcakes

I started out with one dozen golden yellow cupcakes that I made using Bakerella’s recipe.
After allowing the cupcakes to cool, I covered them with red buttercream frosting. I placed half of a mini donut on top and placed the cupcake in the freezer. After hardening for a few minutes in the freezer, I spread the red buttercream on top to cover the rest of the cupcake and the donut.

Then, I placed the cupcake, upside down, into a shallow bowl of red sugar to cover the top and sides completely.

A tootsie roll for the stem and a spearmint leaf candy on top completed the look!

Pumpkin Cupcakes
I started out with one dozen golden yellow cupcakes and covered them completely in a bright orange buttercream frosting.

I placed them, upside down, in a bowl of orange sugar.

Topped with a tootsie roll as the stem and a spearmint leaf, these were almost ready.

The last step was to add some orange frosting on top of the sugar. I piped on a few lines going from the stem to edge of the cupcake to create a more real looking pumpkin!

Monday, October 4, 2010

Cake Balls!

By: Christine 
After reading about cake balls on Bakerella’s blog, I knew I had to give them a try. I was instantly hooked on the idea and experimented with making cupcake bites and cake pops in many different shapes. But I had never made just a cake ball.

My family was throwing a surprise party for my Aunt & Uncle who were celebrating their 30th wedding anniversary. I knew that this was my opportunity to make some cake balls.

I baked a chocolate cake, and mixed the cake (baked and cooled) with chocolate frosting.

After rolling the cake mixture into balls, I dipped them into melted milk chocolate. After drying in the fridge for a few minutes, I drizzles light pink colored candy melts on top and covered the cake balls with bright pink sprinkles.
I arrived at the party with the cake balls on a beautiful pink platter.

After looking around at some of the decorations that had been put up at the party, I noticed that there seemed to be a lot of pink around. I found out that my Aunt's bridesmaids wore pink dresses (30 years ago) and that was the reason for the pink decorations.

My cake balls fit right into the color scheme of the party and they were delicious!!!!