Monday, July 26, 2010

Adventures in Wilton Cake Decorating Class

Course #1: Learning the Basics

In our first Wilton cake decorating class, we were told about all of the fun things we would be doing for the course & most importantly, we would be learning how to make the Wilton Rose.

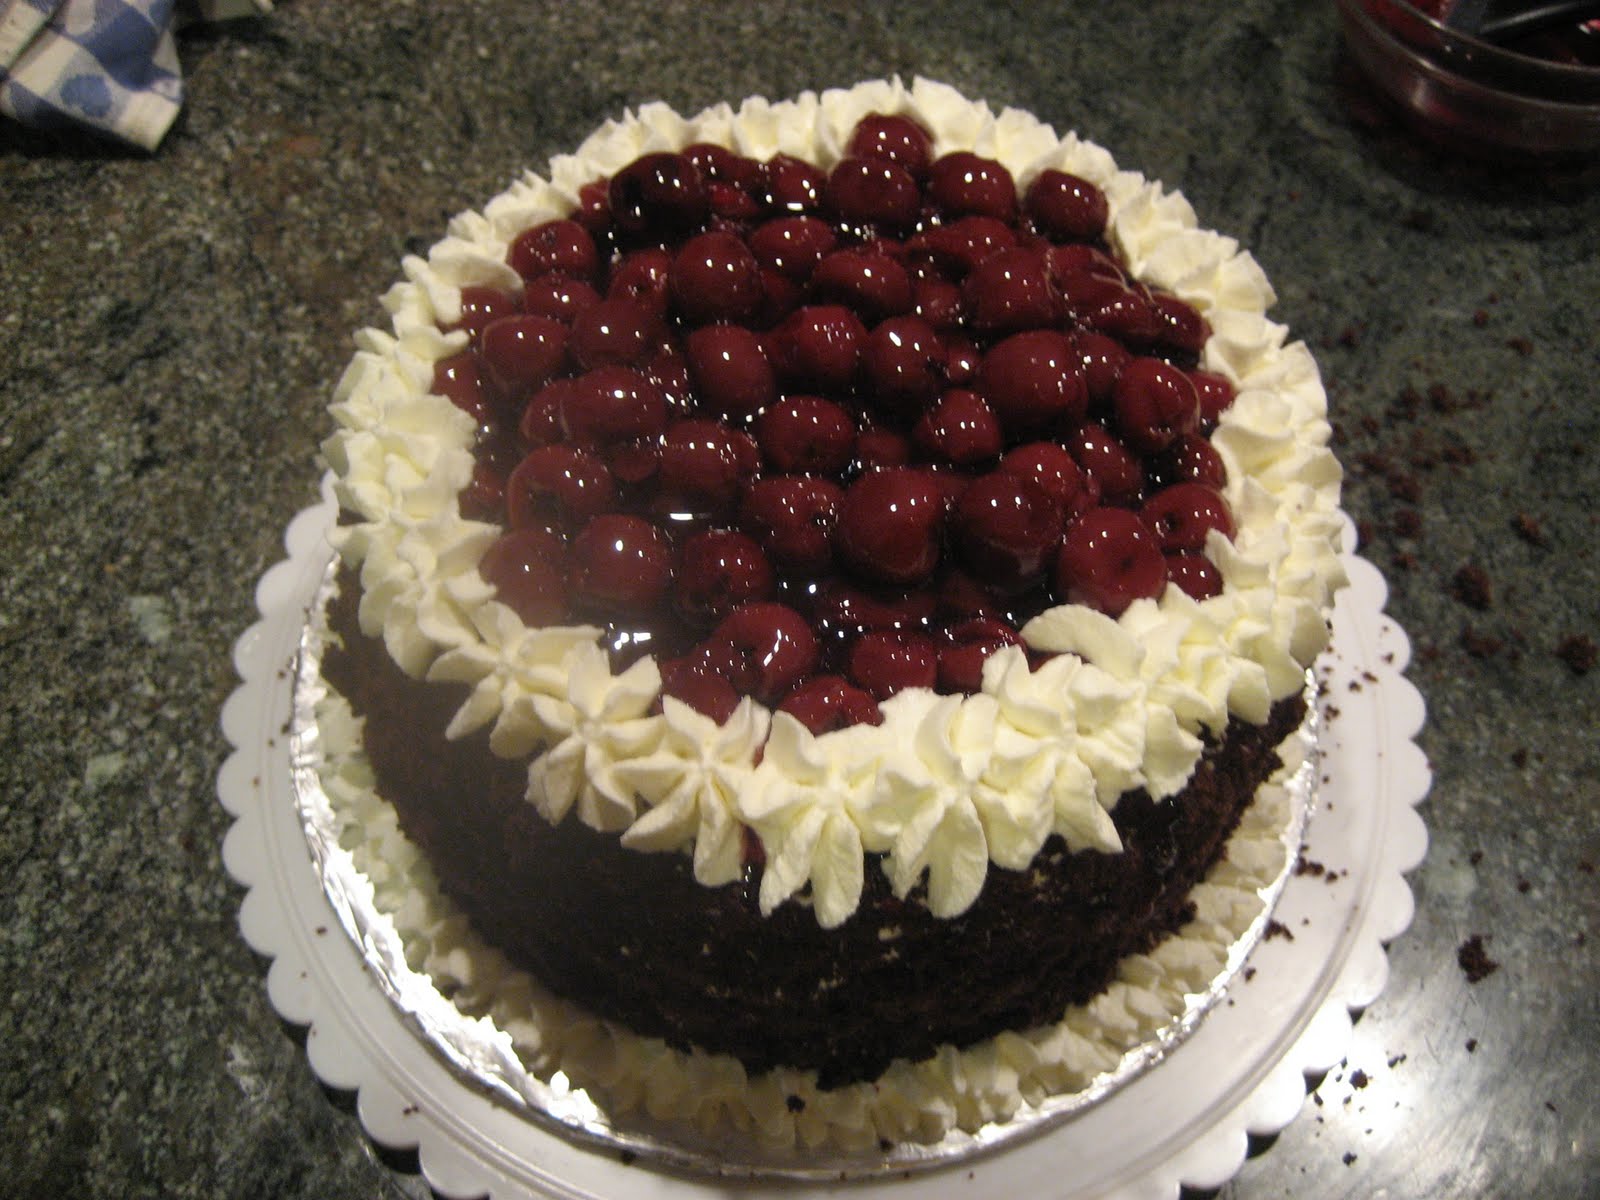
For the second class, we brought in our own cakes and were prepared to learn how to uses the basic tips. We also learned & were able to practice making the Wilton Rose. The assignment for this class was the Rainbow Cake. This was a simple assignment that we both had a lot of fun with & below are the pictures of each of our finished products!


The third class, we could bring in either a cake or cupcakes. Jill chose to make cupcakes & Christine chose to make 2 mini cakes & 6 cupcakes to decorate. This week’s assignment was clowns & drop flowers. Below are our finished products!


For the fourth & final class of this course we brought in our cakes and were told that we needed to completely decorate our cakes in almost any way we wanted, although, roses were the main focus on the class so we both used them in our final project. Below are our final cakes!

We were each awarded a certificate for passing the Course #1. We plan on using the techniques we learned in this class in the future since every cake requires some of basic decorating.

__________________________________________________________________________________

Course #2 Flowers and Cake Design


This course taught us how to make flowers using gum paste, fondant and royal icing.
In the first class we learned how to make cut and press flowers and pansies out of gum paste and fondant.


In the second class we learned how make ribbon roses, prim roses, apple blossoms, and rose buds out of royal icing.


In the third class we learned how to make daffodils, lilies and we practiced our roses, only this time, we were using royal icing. Royal Icing is different from buttercream because it hardens quickly and creates long lasting beautiful flowers.


In the fourth and final class of the course we learned the basket weave & reverse shell technique. We were asked to bring in the flowers that we had made in the previous classes and a frosted cake. We were allowed to decorate the cakes in any way that we wanted!

Jill’s final cake: Basket weave in a bright purple, with a reverse shell border, ribbon roses and small purple flowers on the top of the cake!


Christine’s final cake: Basket weave in bright yellow, “grass” piped on top, and an assortment of flowers on top!


We both passed the class with flying colors and we look forward to using all of the techniques we learned in our future cakes. We also will be taking the next (and last) Wilton class “Gum Paste & Fondant” in the fall!

Friday, July 16, 2010

Black Forest Cake

I love Black Forest Cake and, since I don't get many requests for it, I was excited to make this cake for my friend Janice to take to a birthday party.

Black Forest Cake has four main components: chocolate cake, cherries (sour pitted), whipped cream, and Kirschwasser (German cherry brandy made with morello cherries found in the Black Forest region of Germany).

This cake has 3 layers. On each layer I drizzle a mixture of Kirschwasser, cherry juice, and sugar.


Then, a whipped cream frosting dam is piped around the edges and a cooked cherry mixture is piled in the middle. Whipped cream is also added on top of the cherries before the next layer is place on it.

The same steps are followed for the second layer.

The third layer is the final layer.

Whipped cream frosting covers the sides of the cake and then chocolate crumbles are patted around the entire cake. The cherry mixture is also added to the top and whipped cream frosting is used for icing stars around the top and bottom border.


A Frost It! sticker and bow are the finishing touches!


Monday, July 12, 2010

Happy Birthday!

By: Jill & Christine

This birthday cake, for a friend's husband, was a red velvet cake with cream cheese frosting. Red velvet cake has definitely become more popular and we have seen a lot of requests for it.

We were so glad to finally be able to work on a project together! Jill baked the cake, using Bakerella's Red Velvet Cake recipe and for the frosting she used Paula Deen's cream cheese frosting recipe. Christine frosted the cake and came up with design and colors! We were able to fully understand and overcome the challenges in making and decorating a cake in humid summer weather and although there were some challenges, we were really happy with the results!

Cream cheese frosting is usually an off white color and since we wanted this cake to be frosted in a bright white color we added a whitening paste to create the crisp clean white color we wanted !


After frosting the entire cake with the cream cheese frosting, we decided to add a star border on top and bottom.


Using green, blue and yellow frosting, we added small dots to the tops of the stars around the bottom border and along the sides of the cake. We also piped in some strands of frosting around the top to create a silly string/confetti look.


Black colored writing made the letters stand out against the white frosting!

Monday, July 5, 2010

4th of July!

For most people, the celebration of Independence Day usually calls for a party, cookout or another kind of special event. This year, for my family, our 4th of July celebration was a block party in York Beach, Maine. With so many fun ways create patriotic treats; I was unable to make just one!

Tie-Dye Sugar Cookie Stars!
A simple homemade sugar cookie recipe was the base for this idea. I separated the dough into 3 parts. One ball of dough was kept white; the other two were colored blue & red. I then rolled the each ball of dough into a flat rectangle, layered them on top of each other (white on the bottom, then red, then blue) and rolled the dough to form a log shape.


After refrigerating the dough for about 20 minutes I sliced the dough log into ¼ inch thick slices. I then used a star shaped cookie cutter to create the fun patriotic shape!

Baked, cooled & sprinkled with sugar these cookies were ready for the 4th!


S’more Brownie Bites

I love s’mores because they remind me of cookouts, bonfires and summertime. They are also a fun treat. Fun, but messy. I decided to create something that allows you to enjoy the taste of a s’more without the mess: graham cracker crust, brownie batter baked into a mini muffin pan with a marshmallow on top!


I placed them back in the over under the broiler to get the authentic s’more taste with the crispy cooked marshmallow.


I drizzles red colored candy melts and added a blue star on top to incorporate the 4th of July theme. These bite sized treats are a great way to enjoy the wonderful taste of a s'more!


“Happy Birthday, America” Cupcakes!

The cupcakes that I decided to make this year for the 4th of July are bursting with patriotism! I used a simple white cake recipe, divided the batter into 3 bowls. I colored one bowl of batter red and another blue, leaving one white.

I lined a cupcake pan with white cupcake liners. I spooned in a small amount of the red batter into the bottom of each liner. I then added a small amount of the white batter on top of the red, and finally added the blue on top of the white. Careful not to mix the colors together, I gently placed these in the oven to bake!


After baking & cooling, these beautiful, bright, and patriotic cupcakes were ready to be frosted!
I decided to make white buttercream to frost these cupcake and added some coloring to the pasty bag so that when I frosted them, the red, white and blue colors swirled together.


I even made some mini cupcakes!!


All of these treats were fun to make and enjoyed by everyone at the block party!

Happy 4th of July!!!